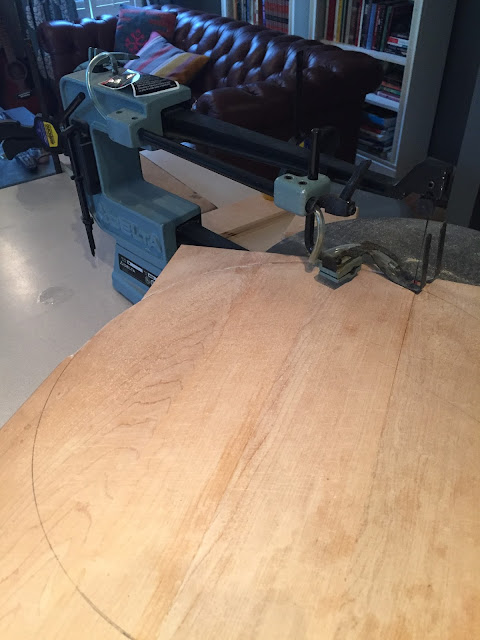
Pretty stinkin' cute, right?! If you'd like to make one of these you will need to find the largest cutting board that you have, or you can buy one at the thrift store. I found this one for $1. Now, look for the largest plate or other round object that will fit inside the cutting board and trace. Next, draw a handle at the top (I used a ruler to make straight edges).
It only took about 10 minutes tops to cut out the cutting board. After you have it all cut out, give it a little sand to smooth out the edges and erase any remaining pencil marks. I just sanded by hand with a piece of sandpaper, but you could also use an electric sander. Yes, I did this in my house...I use my kitchen island as my work table. Yes, I am aware that this is not normal. I am not normal.
When you have your design all drawn out, break out your jigsaw. Or your hubby's jigsaw. Or your neighbor's jigsaw. Just get your hands on a jigsaw. Very slowly (I learned this the hard way), begin cutting on the lines you have drawn. I broke the first blade when I tried to go too fast (I'm impatient like that). It's actually very easy as long as you go slowly. Don't forget to wear glasses or goggles just to be on the safe side. My nephew once had a piece of metal fly in his eye when he was hammering and he had to have a cornea transplant.😲 So yes, these things really can happen and you really need to put on the nerdy safety goggles and read the directions with the saw, if you haven't used one before.
At this point you could call it done, if you wanted. If you'd like a little more aged patina to your cutting board, you will need to stain it. I read that wood stains are generally not safe for food preparation surfaces. So, I researched and found that you can use coffee as a stain! Just when I thought I couldn't love coffee any more than I do.💓 I just opened up one of my used K-cups and dumped the used grounds out onto the surface of the cutting board.
I used a damp paper towel to rub the coffee into the surface of the cutting board. I just did this for a few minutes until I felt that it was completely covered and then left it to sit for about 10 minutes. Then I lightly rinsed it off, and repeated the process for the edges and the other side of the cutting board. You could seal this with some cutting board wax if you wanted. Just be careful to use a wax meant for this purpose so that it will be non-toxic. And that's it! You now have a beautiful, functional antique-looking cutting board for $1!
Now, pour yourself a cup of coffee and stare in amazement!


